Nothing lasts forever, and sooner or later you’ll need to update and replace your kitchen to completely modernize your home.
While it’s easy enough to remodel and change most of the equipment in your kitchen, the major stumbling block, and the potential wall that stands in the way of most people overhauling their kitchen by themselves, is the plumbing, and in particular, changing the faucet on your kitchen sink.
The thought of doing it yourself can be a little intimidating, especially if you’ve never attempted to do any plumbing work, and the temptation to reach for your phone and call a professional can be overwhelming.
No products found.
But you don’t need to, because changing a faucet in your kitchen isn’t as difficult or as terrifying as it might seem and you definitely don’t need a degree in advanced engineering to do it.
You just need to take a deep breath, relax, make sure you’re properly prepared for, and have everything that you need to do, the job and most importantly, you need to take your time.
And we’re going to guide you, step by step. through the relatively painless and easiest way to change your kitchen faucet.
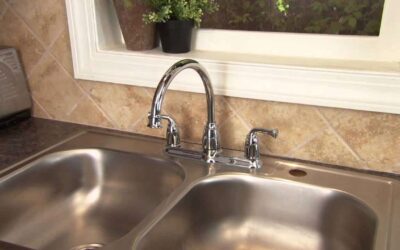
Have you purchased a new faucet yet? It’s an opportunity to revamp the look and function of your kitchen. Think white kitchen faucets or matte black faucets for a bit of style and contrast. Consider pull-out faucets or even touchless kitchen faucets for modern functionality.
Be Prepared – The Right Tools For The Right Job
Before you even think about attacking your old faucet and ripping it out, you’ll need to make sure that you’re adequately prepared to do the job properly.
And the first step on your journey to successfully replacing your faucet is making sure that you have the right tools and the replacement faucet ready and near to hand.
It isn’t a complicated process, and you don’t need a vast array of tools to do it, but you will need an adjustable wrench, a pair of channel pliers, and a socket wrench, all of which are the amateur plumber’s best friend.
Once your tools are lined up and ready and you have your new faucet, you’re ready to begin.
Shutting Off The Water And Draining The System
There are two ways to safely shut off the water supply to your kitchen sink – the first and easiest way to do it is by closing off the shut-off valves underneath the kitchen sink, which are usually immediately underneath it, on the pipes leading up to the faucet.
The hot water shut-off will be on the hot water pipe and the cold water shut-off will be on the cold water pipe. Simply turn them off and the water supply to the kitchen sink, and the faucet that you’re going to replace, will be turned off.
Alternately, if you know where it’s located outside your house, you can shut the water supply off from the mains for the duration of the job.
A lot of plumbers prefer to switch the water off at the main supply as it minimizes any risk of any water being left in the household supply and any potential water-related problems.
If this is your initial foray into the world of plumbing and pipework, we recommend that you turn the water off at the mains for the extra reassurance and safety that it’ll provide.
Once the supply is switched off, turn the faucet in the kitchen on and let the water flow, until the system is completely drained. You’ll know exactly when that is, as the water will stop flowing out of the faucet. And when the system is dry, it’s time to replace your faucet.
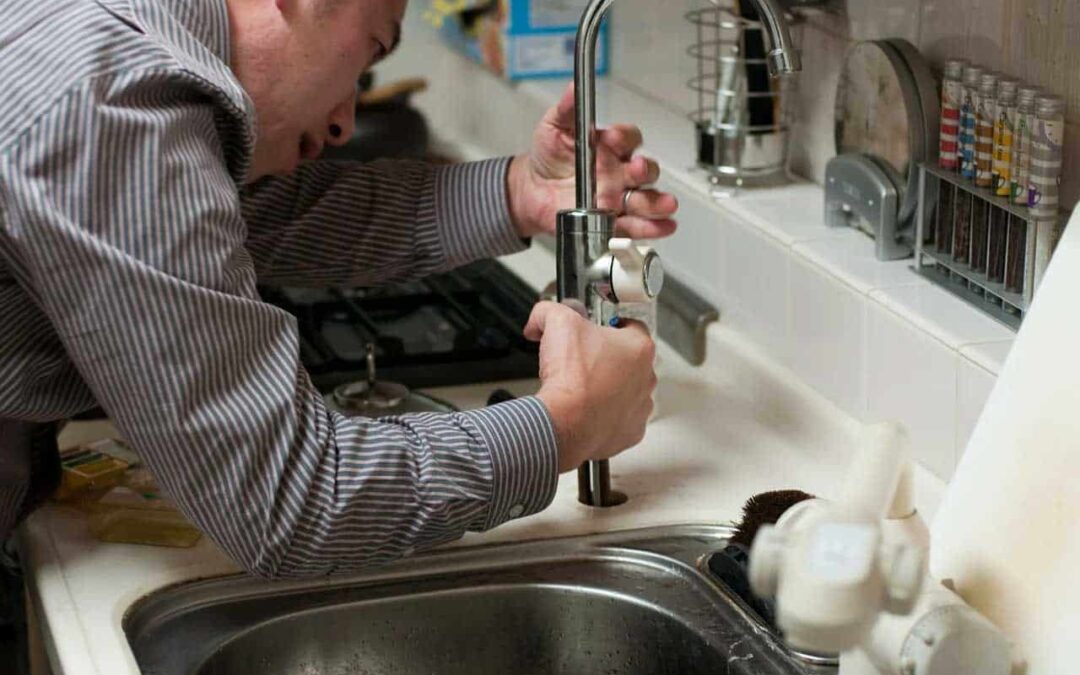
Removing The Old Faucet
If you’re going to install a new faucet on your kitchen sink, you’re going to have to remove the old one first.
Remember what we told you about taking a deep breath and approaching the job calmly and carefully? Good, then it’s time to get started.
Use the pliers to hold the hot water line in place and set your adjustable wrench to the width of the nut that’s holding the line onto the faucet. Slowly and gently, but with enough force to make the nut move, begin unscrewing it. And if it doesn’t move because the line is a little too old and it’s been on there a while, again don’t panic.
Spray the nut liberally with some WD-40 and leave it for a couple of minutes to soak in. Once you’re satisfied that the WD-40 has had enough time to soak in, try removing it again, and once it comes loose, repeat the same procedure with the cold water line.
If the nuts are difficult to remove, it might be a good idea to replace the supply lines and gaskets as well, both of which will be readily available at your local hardware store.
The best way to do that particular job is by spending an hour or so (we know it’s inconvenient, but if you want the job to be done properly, the best way to do it, is slowly, methodically, and carefully) watching some of the instructional videos on YouTube.
The final part of removing the old faucet involves removing the locking nut that’s holding it in place on the sink, which you should be able to see with a cursory examination.
This time you’re going to need to use the socket wrench to remove it, and again if it’s stiff and doesn’t begin to move easily, use the WD-40 again, and try again in a couple of minutes.
As soon as the nut comes off, you’ll be able to remove the old faucet and be ready to install the new one.
Installing The New Faucet
After you’ve removed the old faucet, wipe down the sink where it was sitting for however many years and make sure that the area where you’re going to install your new faucet is clean and clear of debris, and you’ll be ready to install a new kitchen faucet.
Make sure that the gasket that your faucet is supplied with is in place, and then thread the connectors through the newly available holes in your sink.
After the faucet is in place, tighten the locking nut that holds it to the sink and position the correct hot and cold feed lines with the bottom of the faucet, and as soon as they’re in place tighten them using the pliers and adjustable wrench again.
In the simplest terms, you’re reversing the process you used to remove them from the old faucet, to connect them to the new faucet.
When you’re certain that the nuts are tight enough on your new faucet, it’s time to turn the water back on.
However, if you over-tighten the nuts, it might destroy the connecting thread, which means that your faucet will leak, and if you don’t tighten them enough, the faucet will leak too. It’s better to leave them a little loose and tighten them once the water is back on than to over tighten them when you’re connecting the water supply.
While we’re on the subject of knowing whether or not you’ll need to tighten the nuts, as soon as the water is turned back on, you’ll know. If the connections don’t leak, they’re tight enough and if they do, a couple of turns with your wrench should stop the leak in its tracks.
And that’s it, it really is that easy to replace your kitchen faucet. We told you it was simple, didn’t we?