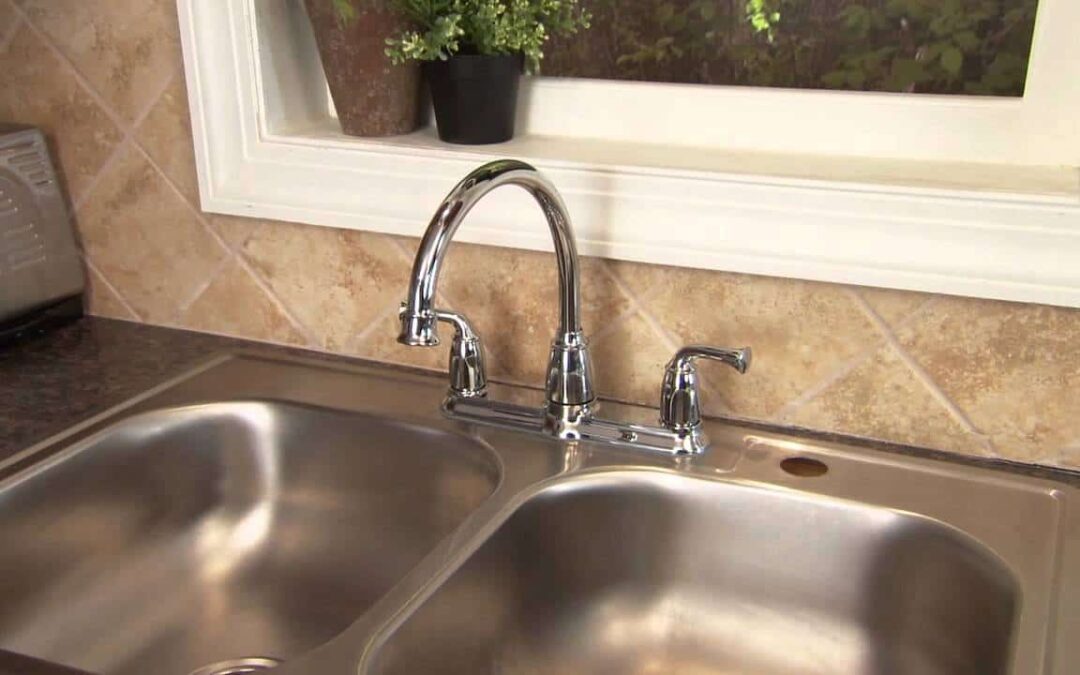
There are a lot of choices to be made when you need to replace a kitchen faucet for any reason. There are a lot of styles nowadays to choose from and there are different types of faucets too. So before you rush out to buy and replace a kitchen faucet you need to know what kind you want or need. Are you just getting the faucet or is this a whole new sink going in? If it is just the faucet you need to consider the style of your sink and kitchen to make sure you choose something that will look good as well as meet your practical needs. How many holes are there for the faucet, and are you also looking for a sprayer? One hole means you need the type that is altogether in a single post. Three holes mean separate posts and water lines.
Before you get started
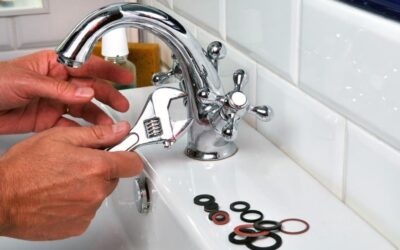
When looking at how to install a kitchen faucet before you start you should do a few things to make sure you are ready. Shut off the water supply, unpack your new faucet and make sure it is not damaged and then also inspect tubing. If you are installing a new sink, put the faucets on the sink first and then put them in the sink. If the water supply tubing needs cutting make sure there is the required amount to penetrate the shut-off valve.
Installing a kitchen faucet
Kitchen faucet installation – Installing the faucet spout and the hand spray
- Make sure the O-ring is in place before you apply sealant or plumbers putty. Then apply a small bead under the escutcheon according to the instructions the manufacturer gives.
- On the bottom of the shank thread on the shank nut and the washer.
- Insert the shank from the bottom of the sink and then slide the escutcheon over it.
- Thread to the bottom of the shank the spout and then loosen the spout just about a 1/8 turn and loosen the shank the same. Do not over loosen the shank as then the spout might not properly seal and then there will be a leak.
- Now tighten the washer and nut to hold the spray to the sink and place on the provided gasket.
- From above, slide in the spray holder into the mounting hole and hand tighten the nut from under the sink.
- Place the hose into the spray holder and attach it to the shank tee with sealant.
Replace a kitchen faucet – Installing the valve body
- Apply to the threads of the coupling nut of the flexible hoses some sealant then thread the hoses to the outlets on the valve body and tighten with a wrench. Take care not to make it too tight.
- Put a bead of sealant or putty to under the escutcheons and insert the valve bodies from the top into the mounting holes of the sink.
- Make sure that you have the hot and cold valve bodies installed on the right sides. Left for hot, right for cold. Install a washer and nut to the bottom and make sure the valves are aligned so that the copper tubing is positioned outwards.
- Use the wrench to tighten the nuts and clear up any plumbers putty that is left. Connect the hoses to the shank tee and tighten taking care not to overdo it.
Kitchen faucet replacement – Installing the handles
- Rotate the stem counterclockwise to put the valve stem into its off position. Onto the escutcheon thread the bonnet.
- Put the stem extension into it and press it onto the stem valve.
- With lever handles make sure they are aligned correctly then press it onto the stem extension and use the screw to secure it. With six-prong handles use the screw to secure the stem extension. As you press the handle on the extension make sure the alignment of the ceramic button is right and use a setscrew to secure the handle.
Checking your installation work
- Make sure the faucet handles are in the off position and that for the hot that means turning it clockwise and for the cold turning it counterclockwise.
- Turn on both waters and look for leaks. Turn the aerator counterclockwise to remove it.
- Now turn on both faucets for a minute to flush debris out and make sure it all works fine. Close the handles and put the aerator back on this time turning clockwise. Just do until hand tight.