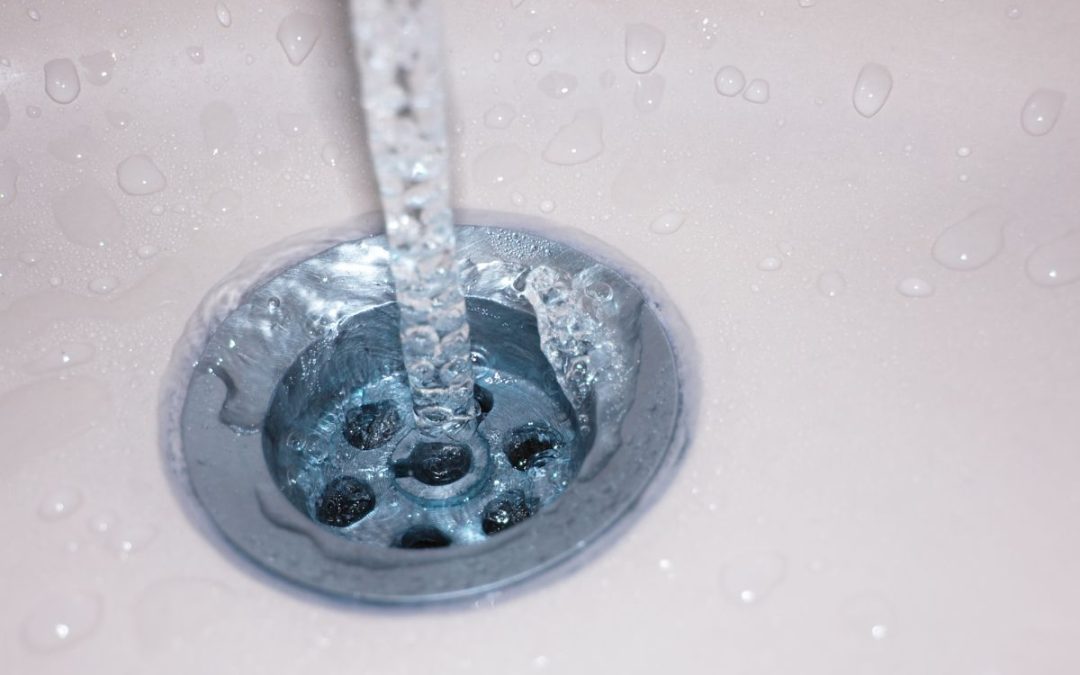
If your drain stopper isn’t functioning right, you might notice that the water isn’t draining as quickly as it was. It might be a clog, but it might also be your blocked sink stopper.
The removal, cleaning, and reinstallation of a drain stopper are all covered in this article. Learn how to complete this DIY project without calling a plumber.
Removal Of Drain Stoppers
There are various kinds of drain stoppers, therefore it’s crucial to identify which kind is present. Instructions for removing and cleaning each type vary.
This article can assist you to identify the sort of drain stopper you have if you’re unsure. PS: An electric drill will work just as well if you do not possess a flat-head screwdriver to accomplish the process.
1. Lift and turn
This drain stopper, which is also known as a twist-and-pull stopper, is difficult to remove because there are several different ways to do so.
Some come loose, while others twist off. Sadly, until you attempt every one of the alternatives listed below, you won’t know which kind you have.
It’s also crucial to keep in mind how you removed the drain stopper in order to put it back in without any difficulty.
First, detach the removable knob. Then, using a screwdriver, release the stopper by unscrewing the screw within the knob just enough. Then, take out the stopper.
Using a flashlight, search behind the stopper if your lift and turn mechanism has a screw-in base. This joins the broad, lengthy base. To detach the stopper from the base, insert the screwdriver and turn it anticlockwise.
Next, take the drain stopper off. Use a wrench to turn the base anticlockwise until the stopper detaches from the drain strainer for lift and turns using a twist style base. Next, remove the drain stopper from it.
2. Push and pull
While comparable to the raise and turn drain stopper, this drain stopper has a simpler removal process.
Even though its disassembly will bring to mind the lift and turn knob approach, it is less complex than that.
Remove the knob while the stopper is in the open position. To uncover the centre post, push the stopper closed.
To remove the slotted screw within the centre post in an anticlockwise direction, use a flat-head screwdriver. Pull the drain stopper out.
3. Toe touch
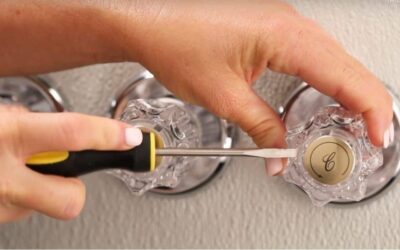
This stopper is equally simple to use and remove. Make sure the stopper is open before removing it. To remove the cap, twist it in the other direction. The top of the cap is silver and reads “push.”
Underneath it, in the centre, is a slotted screw. By taking out the screw, you can loosen the stopper using a flat-head screwdriver. Hand-twist the stopper in the opposite direction and take the stopper out.
4. Pop-up
This type can be removed in a variety of ways. To figure out which kind will function for your stopper, you must test them all, just like with the lift and turn.
Before attempting any technique, ensure the stopper remains in the open position.
- Technique #1: Squeeze either side of the drain stopper to grasp it. To release the drain stopper, raise it up and pull. If it’s not pulling out, pull while jiggling it back and forth.
- Technique #2: Rotate the cap anticlockwise to remove it. The base underneath should then be unscrewed using a screwdriver. The stopper can then be removed by lifting the entire assembly upward.
- Method #3: This is effective as a pop-up stopper for a rocker arm. You press down to open and draw the mechanism up to seal the drain. You must crawl underneath the sink to access the pivot rod arm that is attached to the sink drainage pipe in order to remove the stopper.
To assist with twisting the arm off, pliers may be required. Remove the arm and the round plug it is connected to. After that, go back to the faucet and remove the stopper.
5. Trip lever
The trip lever drain stopper has certain unique issues. You must disengage the lever from the aperture below in order to remove it.
Comparable to lever pop-ups seen in bathroom sinks, this procedure works best.
Pay attention to the circular lever with two side holes and a lever in the middle. There are screws in the two holes. Use a flat-head screwdriver to remove one of them.
Holding on to the switch cover and any potential loose parts, remove the second screw.
Distinguish the top from bottom entrance. Hold everything and move the switch, arm linkage, plus cylinder base slowly up and down.
The best way to clean a drain stopper

It’s time to figure out how to clean a grimy stopper now that you understand how to detach drain stoppers from the sink and bathtub.
Fortunately, the majority of drain stoppers can be cleaned using the same techniques.
Keep the screws and small, dangling objects in a secure location. To clean the stopper, you can rely on natural treatments. Make use of at minimum one of these techniques:
Hand-pick the debris to remove. Use a toothbrush with baking soda or liquid dish soap to scrub the drain stopper.
30 minutes should be spent soaking the drain stopper in a bowl with some white vinegar, cleaning vinegar, dishwashing liquid, or a cup of vinegar and a cup of baking soda.
Use a toothbrush to scrub the items after that. Wash the trash with water to remove it.
After that, use a paper towel to dry the stopper. Use baking soda and vinegar to clear the clogged pipes while the pipe is open.
Reattaching the drain stopper
Last but not least, you must learn how to reinstall stoppers. Typically, you’ll reverse the installation steps to reinstall You may also use an electric drill if you don’t have a flat-head screwdriver. Check to verify if the water is running normally after reattaching.
Final thoughts
The accumulation of muck, debris, and soapy residue prevents a filthy drain stopper from doing its task of removing water.
A clean drain stopper can successfully prevent water from reaching the drain. Additionally, it allows you to swiftly drain the water from the bathtub and sink so you can handle other pressing housework.