It’s very normal if you have found yourself in a position where you need to change your shower handle. But what if there is no screw?
Well, don’t worry. There are many ways to overcome that. But these shower handles come in different shapes and sizes.
So, what you need is something that can tell you how to remove shower handle without screws. The ultimate solution guide, in short.
So where can you get this?
Well, the answer is, right here. You have stumbled upon exactly what you need. We put together this guide with explanations in detail to help you out.
As we run through this article, we’ll show you 3 different ways for removing a shower handle without screws. Moreover, we’ll also answer questions that you might have.
So, let’s not wait any further and jump into the whole process. We’ll start by checking out the things that you might need to get the job done.
Get These Essentials
Here are some of the things that you might need for completing these three ways to remove a shower handle without screws:
Now that you know about the essentials that you need to pick up or order, let’s move on to the methods that we will work on.
How To Remove Shower Handle Without Screws
Shower Handles come in many shapes and sizes. So, each of them gave a different kind of method that will work. Hence, we put together 3 ways for you.
All 3 methods have been explained in detail so that you can start fixing right away. So, pay attention.
Here goes:
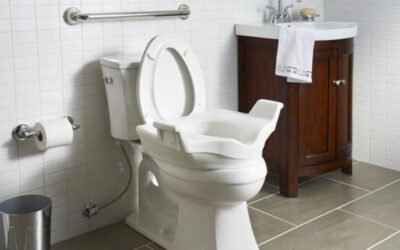
Method 1: When the Handle Has a Button or Cap
The first method on our list is for shower handles that have either a button or a cap on them. These have nooks and crannies that are easy to locate.
So, this won’t take too long. Let’s get started with the steps then, shall we?
Step 1: Look For the Cap or Button
At first you have to look for the cap or the button on your shower handle. Look around the handle to identify one.
The button or cap usually had a noticeable edge. Moreover, it’s also usually located at the top of the handle or on the side of the handle.
Therefore, look carefully and once you have found one, we can get started with the rest of the work. If you don’t find one, resort to method 2 or 3.
So, after you complete this step, move on to the next one, popping the cap.
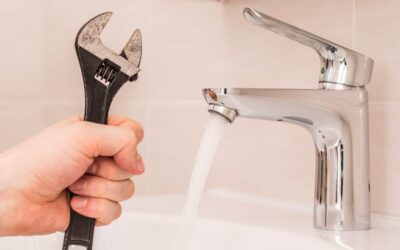
Step 2: Use a Screwdriver to Pop it Off
Now, in this step, you’ll have to grab a screwdriver first before starting the work. It must be a flathead for it to work. So, chop chop!
Once you have the screwdriver, slowly work the screwdriver in the gaps of the cap or button until it pops off. Now, be gentle with the whole process.
A lot of these handles are very delicate. So, it’s very easy to damage them while doing this kind of work. So, we recommend that you be a little careful while handling this.
Once this is done, jump onto the next step and continue your work.
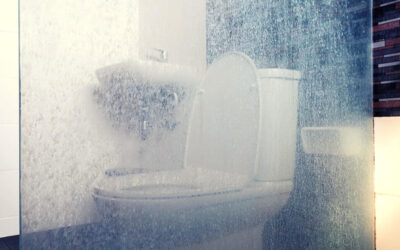
Step 3: Decide on Water Supply
Now, it’s time to decide if you’ll turn off the water supply or not. This is very important, as your decision matters depending on the situation.
This is necessary only if you’re changing the cartridge along with the shower handle. Otherwise, you’ll get drenched when you open things up.
Now none of us would love that, would we? So, keep this in mind. Other than that, the decision is completely up to you.
Once you have taken care of this, start the next step on our list here.
Step 4: Remove the Screw Inside
Now, it’s time to remove the screw inside your shower handle. You might want to grab an Allen Wrench for this.
Why the Allen Wrench you ask?
Well, the screw inside the handle might be a set screw. So, it’s important that you have the right size for the job. We recommend that you get a whole set.
That way you’ll be prepared for any situation. Now, Grab the handle and use the Allen Wrench to remove the screw off the handle.
Don’t forget to cover the drain before doing this. Once you’re done here, move on to the last step in our list.
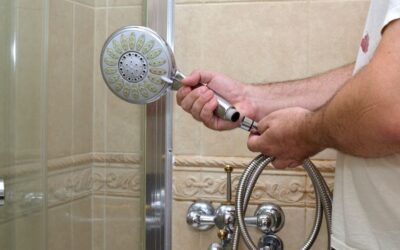
Step 5: Pull Off Handle
So, we got the screw removed and now it’s time for the final step, pulling the handle off. For this, you’ll need a faucet handle puller or a pair of plier ready.
Once you have it all in place, start by using the pliers to pull the handle off. Now, here’s a tip, cover the base with a towel so that you don’t scratch it.
After a few pulls the handle should come off. After that your job is done. You have successfully completed this method.
Now, let’s see a small tip that you can follow.
A Fine Tip
Sometimes you might find some mineral deposit on the handle. Don’t worry. You can remove it by simply using some lemon and distilled white vinegar.
So, what if your handle doesn’t have a button or cap? How will you remove that? Well, you’ll get your answer in the next two methods.
Method 2: When It’s A Double Faucet Handle
You can use this method if your shower handle is a double faucet one. There are four easy steps. Following them would do the job for you.
Here goes:
Step 1: Take Safety Measures
You would want to turn off the water supply for this one just to be safe. This is just a safety precaution so that you don’t get drenched in the process.
Step 2: Work with the Base
Now you’ll have to work with the base to remove the handle off. So, hold the handle and slowly twist the base counter clockwise.
After a while of twisting it’ll come off and that’s it, the handle is off. Now the next two steps are for you if you want to remove the cartridge.
If you don’t want to, skip them.
Step 3: Remove Centerpiece Screw
Grab a Phillips head screwdriver and start removing the centerpiece now. Loosen the screw and remove it to move the centerpiece and expose the cartridge.
Step 4: Remove Cartridge
Now that the cartridge is open and exposed, get needle nosed pliers. Then using the pliers, pull the white cartridge out.
That’s it. That’s how short and easy this method was. Now, if even this method doesn’t work for you, move on to the next one.
Method 3: When the It’s A Low Arc Lever Style Handle
This method is for you if you have a low arc lever style shower handle. You can follow these two steps to quickly remove them:
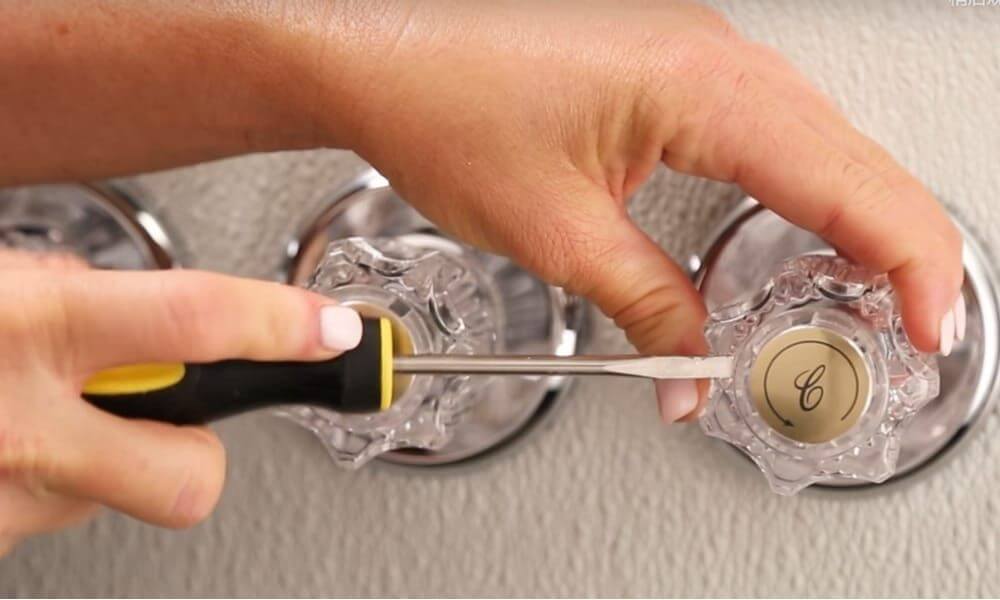
Step 1: Remove Hot/Cold Button
Start off by locating the hot/cold button on the handle. Once you have found it, pop it off with a little flat head screwdriver.
Move on to the next step once you have done that.
Step 2: Remove Allen Key
Once you have popped off the hot/cold button, you see that instead of a screw, there’s an Allen Key behind the button. Use an Allen Wrench to remove that.
Now the handle will come off nice and easy. And that’s it for this method too.
Those were all the methods for removing a shower handle without screws. Now let’s answer some questions for you.
FAQs
01. Should cover my sink?
You should cover the sink to prevent screws from falling into it. Using a towel would do the trick here for you.
02. How much pressure should I apply when removing the parts?
Don’t apply too much pressure. Because these parts break easily. So it’s better to be careful when handling them.
03. Why should I be careful with the hot/cold button?
The hot/cold button breaks easily, so it’s better to go easy on it when using the flathead screwdriver. We recommend you do it slowly.
Final Words
Those methods weren’t hard, right? Well, we hope we were able to tell you how to remove the shower handle without screws properly.
All these methods were carefully curated for you to understand. So, we hope this article served your purpose.
Now, the ball’s in your court. Check which kind of handle you have at home, choose the method you want to follow and start fixing.
Other than that, we are always open to suggestions. If you think we missed something here or you want us to cover something else, let us know.
You can do that by leaving a comment in the section below.
Until then, happy fixing.
More Related Topics: