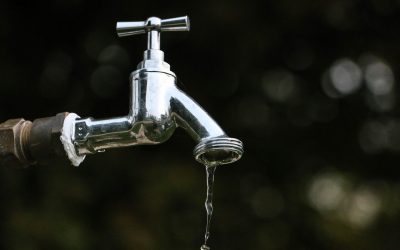
It’s typical for sediment to build in all water lines. They also gather minerals and rust, neither of which normally pose a threat.
However, you might notice discolored water and need to clean your water lines if something has upset the network and if sediment has become loose or too built up.
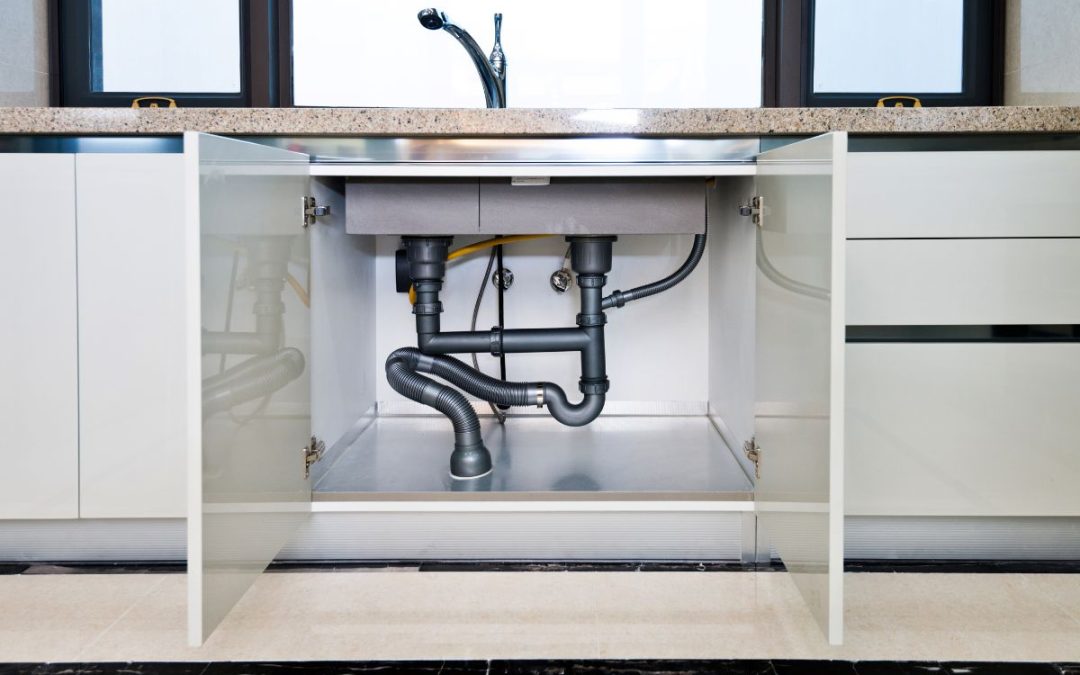
The water pipes in your plumbing system are the most susceptible to damage. The list of issues with pipes is extensive, from frozen water to bursting pipes.
However, there are some maintenance tips that you may do to increase their toughness. Cleaning the silt from the water lines is one of these things.
Your home never receives water in its purest state. It’s always loaded with clay, soil, and dirt particles.
These substances combine over time to build a heavy deposit that can damage your pipes as well as the appliances to which they are attached.
It’s alright if you can’t afford to have a professional clean the water lines on a regular basis.
Here is a comprehensive instruction on how to thoroughly clean your water lines by yourself.
How to clean your water pipes of sediments
It’s rather simple to remove particles from the water pipes in the early stages. Here’s how to go about it:
1. Running cold water via hot water pipes
Running cold water through water pipes is one of the simplest ways to remove sediments from them. A step-by-step tutorial is provided below:
For your own safety, you must first switch off the water tank and the entire plumbing system. The water hose’s end must then be placed on the floor drain after being inserted into the heater’s drain.
Check to see if the cold and hot water valves are both closed. In essence, the water valve is what sends the incoming water towards the heater to be heated.
If you overlook doing this, the heater’s water supply will keep flowing in and out. This will cause a process disruption as well as a significant increase in water costs.
After completing this, switch on your faucet to avoid your pipes creating a vacuum.
Next, activate the heater’s drain valve to clear the sediments. For as long as possible, the water should gush through the pipes. This will guarantee that the sediment layer has been removed to the final inch.
It’s crucial to verify that water flows from the pipe into the drain before you begin this operation. The entire procedure is meaningless without that. After finishing this, you can take the hose off and restart the water heater and valves.
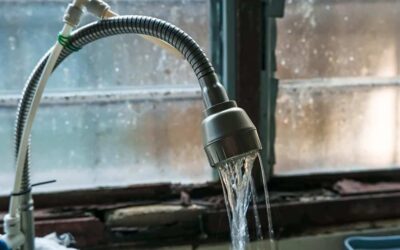
2. Flushing debris from additional pipes
Flushing sediment from hot water pipes was the prior stage. But your home also contains additional pipes. Additionally, there is a similar likelihood of silt buildup. These pipes are somewhat simpler to clean. The only thing you have to do is:
Open three to four cold faucets. Allow it to soak in the water for a minimum of 20 minutes. Make sure that the pressure is at its highest during this operation. All of the sediments will be pushed out of the pipes thanks to the high water pressure.
After 30 minutes, you can try the process again if you believe there are some sediments still present. The procedure can be accelerated by simultaneously turning on the water hose at its highest rate.
How to clean the sediments out of the faucet aerators

There are other things that also need to be cleaned besides the water pipes. Sedimentary deposits can form on the faucet aerators just as easily. Unwanted sediments mainly build up on the mesh layer of the aerator.
Here are the cleaning instructions:
You must first take it out of the faucets. You’ll need a tool to unscrew it in order to do that. Once that is finished, thoroughly rinse the aerator to get rid of all the silt. After that, screw it back onto the faucet.
It is very likely that the sediments built up in the aerator may leak into the pipes when you remove them from the faucets.
Before reattaching the aerator to the faucet, clean the water pipes as well to make sure that there are no sediments behind. Run water under high pressure throughout these pipes without the aerators to do.
You may be confident that all of the sediments have now been removed when the water pouring out is clear. The aerator can then be reattached to the faucets in the same manner as before.
Various alternatives to preventing excessive sedimentation
Sediment is abundant in some places, including the water there. Additionally, as you may have observed, the procedure for cleaning the pipes and flushing out sedimentation is quite taxing.
You have two choices if you wish to streamline the procedure:
1. Purchase a whole-home filter
A whole-house filter is a device that aids in lowering the quantity of silt that enters your pipes. It’s a good answer to your excess sedimentation problem because of its built-in mesh, which can prevent practically any type of silt.
2. Recycled cleaning products
Household cleanser, whether it be commercial or a DIY vinegar plus baking soda solution, expedites the removal of sediments.
They must be operated in the same manual manner as described above, and they are far less effective than whole-house filters. The process’s increased efficiency is the only advantage.
Final thoughts
While periodically cleaning your pipes to keep them clear of particles is tiring, it is also crucial to do so. Your pipes will become less effective and durable if you don’t do routine maintenance and inspections.
After that, replacements will be needed more frequently and will be much more expensive.
Additionally, because the water lines are attached to large water appliances, any presence of sediments may also have an impact on how effectively and generally they operate.