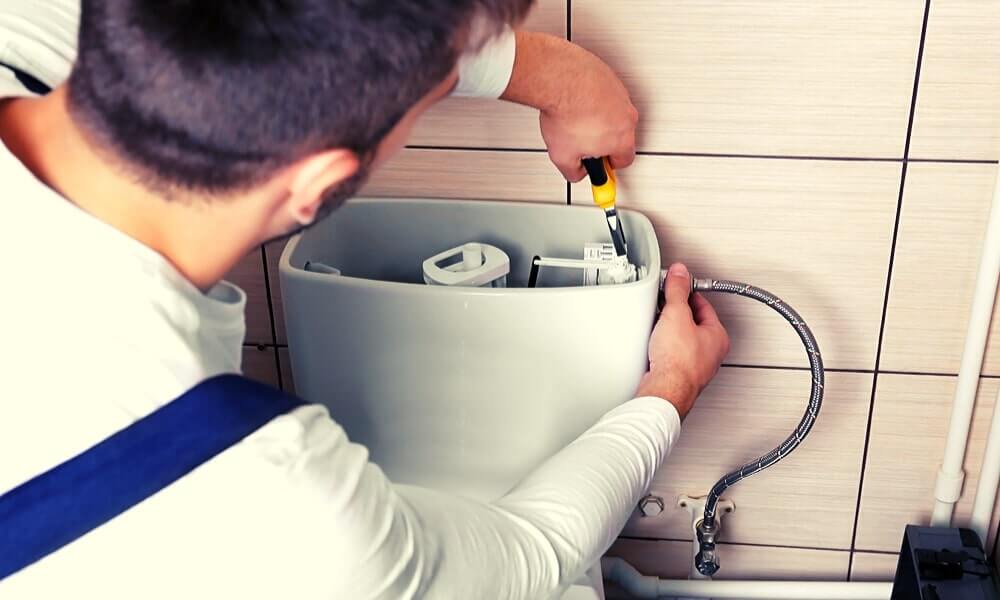
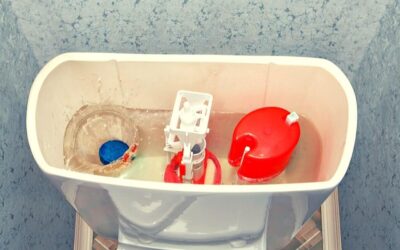
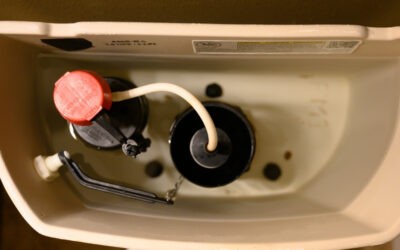
If you have a running toilet then you should always keep it fit. Fit means keeping the toilet working properly. In every running toilet, there is a fill valve. Refilling the tank and bowl of the toilet are the main purposes of that valve when you flush the toilet. It also maintains the water level that remains inside the tank.
A Korky toilet fill valve is a universal replacement of other fill valves used in the toilet. It helps you to keep the toilet clean. But if there occurs any problem inside the valve, you can not flush the dust. So, you should keep the valve working all time. Here we are going to discuss some ways to troubleshoot the valve. If you follow these ways, the Korky fill valve won’t shut off in your toilet.
General Problems of a Toilet: In a toilet, several problems occurred. You may hear periodic water falling sound. There are four reasons that occur in a running toilet. Those are:
- Flapper problem
- Fill valve problem
- Flush valve problem
- Flush lever assembly problem
You can easily determine the problems just looking inside the toilet tank and then flush. Always carefully remove the tank lid because these are very fragile. These are heavy also and become slippery when wet. Flush the toilet to let the water out to the bowl. Then wait until the tank refills. If you see that the water does not stop from exiting out of the tank to the bowl, remaining the flapper properly sits on the flush valve, it is sure that the problem is in the flapper. It may occur in the tank ball or even in flush lever assembly.
If you see the flapper or the tank ball now in the tank through the flush valve successfully sealed but water does falling continuously still, then the problem may occur in the fill valve. Check the valve because it does not adjust properly. As a result, your tank is being overfilled with water.
Related Topic:
Repairing the Fill Valve:

You should adjust the fill valve properly to ensure the correct flush. Inside the tank, the fill valve contains a float which moves with the water level and it opens to refill the tank with fresh water after you flush and shuts off while the tank gets full. You should adjust the fill valve if it fails to flush properly.
This may happen if there is less than enough water inside the tank. It may also occur if you set the valve in a higher position, as well as water, and fail to shut the continuous falling spill over in the overflow tube. Each type of valve has its own method of adjustment upon the water level inside the tank.
On the other hand, if there is a small rubber hose that runs into a brass or the plastic overflow tube inside the tank, then you should make the hose directed down into the tube. Also, make sure that the end part of the hose stands above the water level inside the tank. Never extend it down below the water level inside the tank. Normally, there remains a clip to hold the hose to ensure the proper position on the top of that tube.
There are so many methods to adjust the water level. But the proper way depends on the type of fill valve you are using in the toilet.
New fill valve Korky 528GT Universal Fill Valve for Toto Toilets-2Pack.
How to Adjust a Fill Valve

There are so many ways to adjust a fill valve. Here we are going to tell you about the adjustments of three type fill valves step by step.
Float-Cup Fill Valve:
Nowadays these are considered the standard. People use this design in the newest toilets due to their low-cost and durable performance. A plastic float moves up and down which is cylindrical inside the valve shaft that controls the water flow. It doesn’t contain any traditional type of float ball and rod. That’s why the valve is called floatless. Here we are going to tell you how to adjust this type of fill valve systematically:
- Pinch both ends of the metal spring clip. Then move the float up or down. The water level will be adjusted.
- Slide the float down on the actuating rod. After that, let the spring clip release. It will make the water go down. Do the averse to let the water level high.
- Some float-cup valves come with plastic screw mechanisms. You can turn it to up or down the float. You should keep the water level below 1 inch from the top of the overflow tube. It should keep the same on the critical level mark of the fill valve.
Adjusting the Internal Float Fill Valve:
This is also a new fill valve (Korky, Blue 528GT Universal Fill Valve) known as QuietFill. The valve contains an internal float level that remains hidden in the valve head. The operating process of it and float-cup fill valve is quite similar. But, it is much quieter than other valves and has shut off more precisely. Let’s see how to adjust this type of valve.
- Twist the top head anti-clockwise for unlocking
- If you want to lower the water level, just move up the entire head of the valve. And move lower to make the water level lower inside the tank.
- Now, twist the head according to the clock and lock the valve into place again.
Adjusting Pressure-Activated Fill Valve:
Another name of this type of valve is the floatless valve. It comes with a pressure-sensing mechanism for adjusting the water level inside the tank. This valve can sense the water level under the water based on the pressure. Let’s see how to adjust this valve step by step.
- At first, turn the adjustment screw, which remains on the top of the valve. If you want to raise the water level up, then turn it clockwise. And if you want to do the adverse, just turn the screw anti-clockwise.
- You should monitor the water level. In case of this valve, the water level should remain lower to the overflow tube of the tank.
How to Fix a Korky Fill Valve

If you have a korky fill valve in your toilet and that runs slowly, there may be some potential causes. In common cases, internal debris may build up in the fill valve. Remember, the Korky valves are completely serviceable. Switch to the latest technology if you have the older one. Besides, you should ensure the supply line and the connecting hose to the toilet opened clearly all the way. The water might get restricted if it doesn’t open well.
Let’s see what you should do to keep the Korky fill valve open. We are going to tell you gradually here.
First Step: On the first step, you have to make sure that the supply valve turns to open completely. As well as the line has no kinks. If you see the supply line kinked or it needs to open the supply, just flush your toilet and see the water flow.
Second Step: If you do not find any problem there, just shut off the water supply.
Third Step: At this step, you have to pinch the refill tube as well as cover it together. This is to make sure that the cap remains on the valve tightened entirely. If the pinching is done, turn on the water supply. Then flush and monitor the valve working properly or not.
Fourth Step: If you see the water flow is not improving, then turn off the water supply. Flush the tank to make it empty. Here, you have to hold the valve firmly for the entire process. And make sure that the valve doesn’t turn out from its locked position.
Fifth Step: After that, just remove the refill tube by twisting slightly.
Sixth Step: In this step, you have to remove the valve cover. Use your thumb to lift it up.
Seventh Step: Now, remove the float pinching gently by the arms toward each other when the cover is off. If you don’t know which one is the float, then look on the X marked piece.
Eighth Step: Now, grasp the cap firmly for removing the camp assembly. Then turn it counter-clockwise. You have to do this with your free hand. Hold the valve body in place and it will not unlock it. There can be debris trapped, use warm water to clean them.
Ninth Step: In this step, pull the supply tube straight and out if from the valve. It has a look similar to a wagon wheel.
Tenth Step: There is a white strainer on the bottom of the supply tube. Pull it and rinse it with warm water. It will remove any kind of sediment.
Eleventh Step: Here in this step, you should insert back the strainer into the supply tube. Then insert the supply tube into the body of the valve. After that, twist cap assembly clockwise. It will lock the assembly into the fill valve.
Twelfth Step: Now you have to reattach the float arms on the valve body. Just pinch to clip the float arm into the place. Now you should ensure the float moves freely up and down inside the black box by tapping on the “X” tube. The sidewall of the float chamber should not be scrapped.
Thirteenth Step: Now, you have to reattach the cover of the fill valve on the valve. Then connect to the refill tube. Make sure that it is clipped properly to the overflow tube’s lip. If you insert the refill tube downside of the overflow tube, it may crate siphon. This will help it to run continuously.
Fourteenth Step: Turn the valve clockwise to lock it into the proper place.
Fifteenth Step: You have to tighten the cap completely by pinching the refill tube and cover.
Sixteenth Step: This is the final step. Now you should turn the water supply on and test the water flow.
Final Words:
It is very important to maintain the water flow properly in a running toilet. Fill valve plays a big role in this. If you fail to maintain the water flow correctly, your toilet won’t work properly. Korky fill valve comes with the latest technology. It is very much important to know how to maintain it. Here in this article, we’ve discussed this matter. If you follow these rules, your Korky fill valve won’t shut off. As a result, you’ll get the best performance of your toilet and be able to keep it neat and clean properly.


