If there is a continuous sound of the flow of water in the toilet bowl, it might be due to a problem with a flush valve seal. Old or broken valve seals make your toilet leak. They can also cause a continuous draining of water into the bowl.
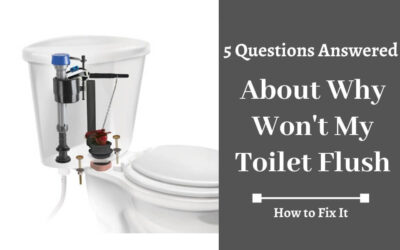
Everyone enjoys using a clean and dry toilet. However, sometimes, worn out and broken toilet parts can hinder this enjoyment. Therefore, you should frequently check on your toilet to avoid the embarrassment of a broken toilet. For instance, if you are hosting a party and your toilet’s flush valve malfunctions, you will be stranded and get embarrassed. The fun at your party will also be short-lived.
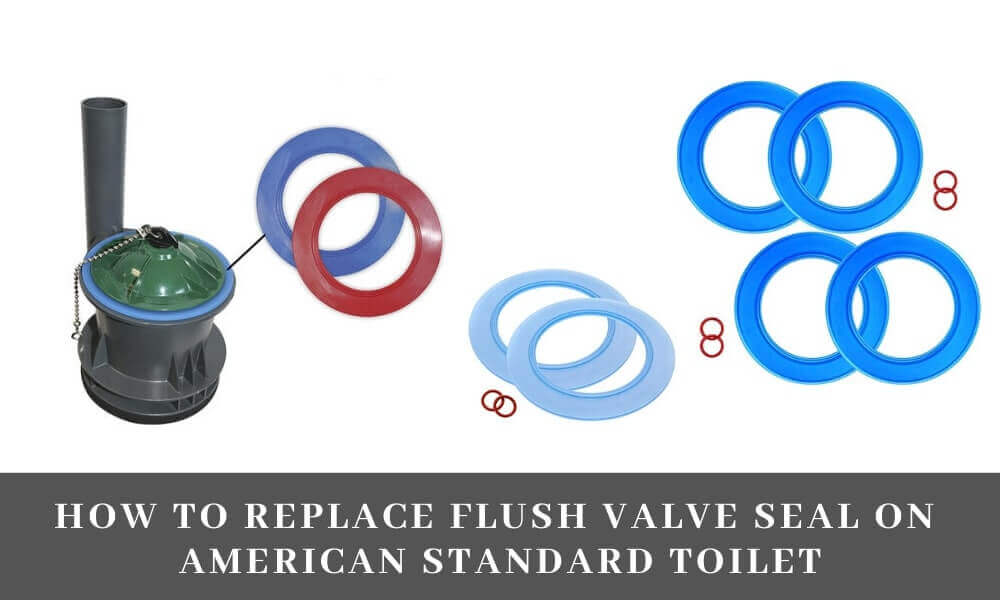
The seriousness that a malfunctioning toilet valve brings is the reason we provide some guidelines on how to replace the flush valve seal on a standard American toilet.The tips should help you cope with the stress that comes with a broken flush valve. When replacing the broken flush valve, you will require a blue accelerator flush valve seal and needle-nose pliers.
No products found.
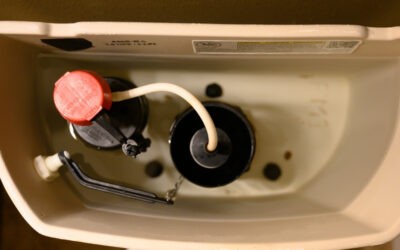
American standard toilet flush valve seal replacement
No products found.
Step 1:
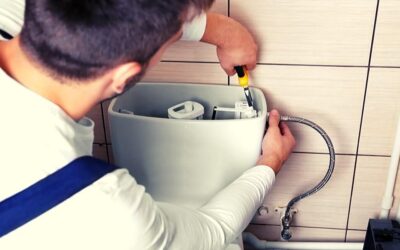
First, ensure you have shut off the water supply before you drain the toilet tank. The two steps should provide you with the best environment for reassembling the toilet’s components. Thereafter, proceed to drain the toilet water tank by manually raising the valve chain inside it.
Alternatively, you can push down the toilet handle to drain the tank. Next, unhook the trip lever and loosen the top cap. You should now take off the float assembly and start your work. This is the best and easiest way to uninstall your toilet. The approach is also the shortest and most convenient of all.
Step 2:
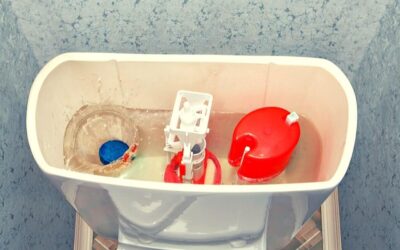
Now that you have uninstalled the upper part of the toilet tank, roll up your sleeves for the main work. You should also have a towel nearby for wiping yourself. First, keep the water level low by flushing the toilet. Low water level helps you identify old and worn out components. It also helps you see the valve seal at the bottom of the vertical assembly of the overflow tube and float.
Thus, a favorable water level helps you see components that need replacing. It is also advisable that you desist from treating the water in the toilet tank with colored chemicals when doing the replacement. Colored chemicals or cleaners color the water and will, therefore, undermine your ability to see the components in the water tank.
After you have spotted the old valve seal, use your fingertips or a pair of pliers to pull up the seal like a worn-out rubber band. Pull the seal until it breaks. Stick the seal by rolling it around the square trip lever holder. The lever holder is usually at the end of the trip lever. Keep your trip lever through the large center hole of your new seal.
You can do this by pulling the seal in a reverse direction toward the holder of the square trip lever. You can also use a pair of needle-nose pliers to pull up the valve seal and to rid the trip lever rod of the clevis pin. Press down the trip lever to ease the process of removing the clevis pin.
Again, you can take away the flush valve chain by lifting the flapper and loosening the chain. After taking out the valve chain, you can easily unlock the flapper and take out and restore the flapper seal with a better or newer one. You may now reinstall the flush valve chain to its right place. Ensure you have tightened the valve chain onto the flapper.
A wobbly flush valve chain impedes proper flow of water and destabilizes other components in the toilet water tank. You can now reinstall the flapper back into the tank. Remember to put together the clevis pin and the trip lever rod immediately after you have put the flapper back to its rightful place. As you go about this process, ensure there is enough space to allow the new seal to turn back to the trip lever holder.
Step 3:
Your new flush valve seal should be between the point at which the tank connects to the trip lever and the protrusion of the square trip holder. You should continue pulling the flexible water refill tube from the center of the stop cap. Do this while pointing its free end downward, to ensure no water is coming out of the refill tube after flushing. You should now place the new seal on the stop cap and change the water refill tube if there is any leakage.
Step 4:
Carefully stretch and pull the new seal down past the vertical assembly to the overflow tube. Let the seal float at the bottom while keeping it on the top groove that is connected to the flush valve. Once the seal gets to its place, gently hold its edge. Put the seal in its designated place in the groove around the bottom of the flush valve. Make sure you have put back the trip lever, the float assembly, the stop cap, chain connections, and the refill tube or any other part you might have dismantled.
No products found.
Finally, test if you have replaced the new seal well by flushing your toilet. Also, confirm that the flash valve works well and is in its proper position. Watch and listen keenly as the flushed water flows. The flow of water should not make rumbling sounds or spill.
Final Verdict:
Replacing a flush valve is not necessarily a hard task. Therefore, you do not need to always call on a local plumbing companyfor the replacement. In the guidelines above, you can comfortably do the replacement and repairs by yourself and with much ease.
This way, you do not need to worry about how to replace flush valve seal on the American standard toilet. Your toilet needs to be kept clean to enhance proper hygiene. This means that you will have to replace your toilet flush valve regularly if you want to have the best flushing outcome. You should also replace the flush valve at least once after every few years.