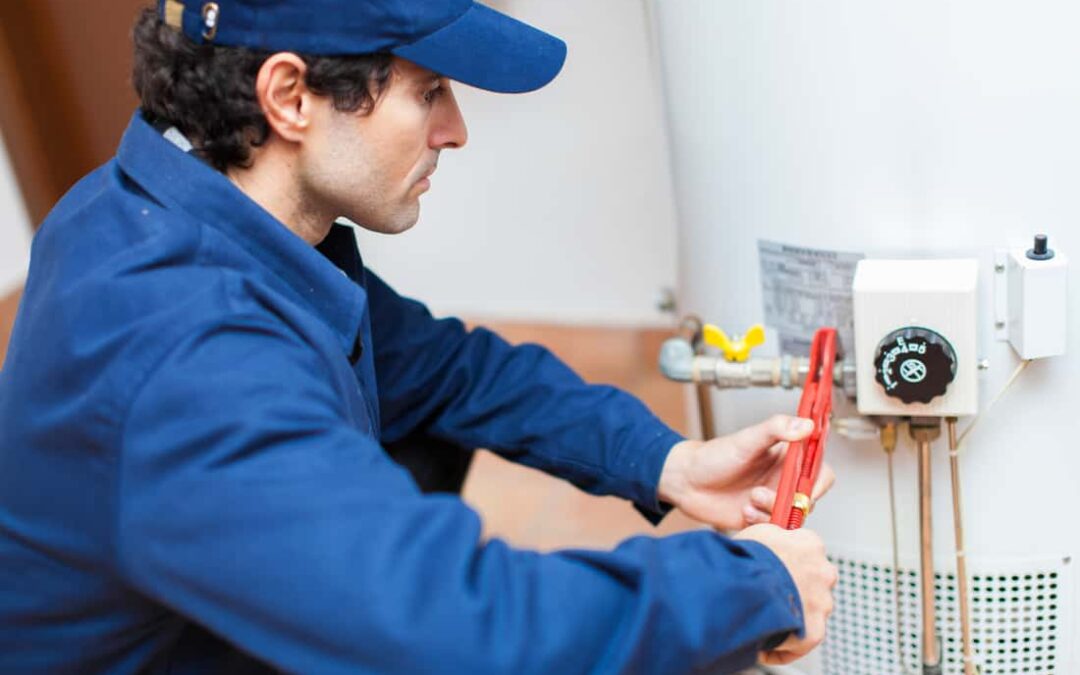
When it comes to your home, you want everything to be in tip-top shape at all times. Having hot water in our homes has become a vital part of our lives, from our morning shower to washing your child’s favorite blanket.
However, sometimes things go wrong. You may find your taps spitting out little more than lukewarm or that your shower just isn’t melting off your skin like it used to. You can often rectify this by turning the heat up. If this does not work, one of your heating elements in your water heater might be broken.
You can test these before replacing them with the use of a multimeter tool. The small tool tests the electrical current running through metal. They are widely available, so if your water is malfunctioning, grab a multimeter and keep reading to know how to test water heater element!
How to test the water element
When it comes to testing your water element, it can be broken into two parts, accessing your elements and using your multimeter.
Accessing the elements
To begin testing your water heater element, you will need to turn off the breaker which powers the water heater. For safety purposes, there must be no electrical power running to the heater.
Your electric breaker is usually a metal box attached to a wall in your home’s basement or a laundry room. The breaker you need should be marked ‘water heater’ or it will control the whole room the heater is in, be sure to turn it off. If you aren’t sure which breaker controls the heater, it’s best to turn them all off.
Next, remove the metal plate near the bottom of the water heater. You will need a screwdriver to remove the plate. Once removed, you will be able to see the water heater’s thermostat and heating elements.
Be sure to keep the screws you have removed safe for inserting later! Some water heaters have a layer of cellulose or fiberglass insulation underneath the metal cover. You will need to pull this out and a plastic cover over the thermostat. These are removed easily with tabs to loosen the cover.
Before you begin your testing, make sure there is no electric power in the room. You can do this by touching the voltage detector’s tip to the wires leading into the thermostat. If the detector lights up or beeps, there is still electricity. If not, the power is turned off, and you can continue.
If you do not have a non-contact voltage detector, one can be purchased at a hardware store or online. They usually look like a large plastic pen with a metal prong at the top.
You will now need to identify the ends of the metal elements inside the open panel. The elements are often several inches inside the water heater, so you should only see the base ends of 2 metal elements. These will have a small plastic plate screwed into them.
Some heaters depending on the size of your home, may only have one element to identify.
Using the multimeter
To use the multimeter and test your water heater element, you will need to set the multimeter to the lowest setting for ohms resistance. A dial usually does this on the tool; the lowest setting can vary depending on your model.
Each element will have two electrical wires running to screws keeping the element in place. Remove one wire by unraveling its loose end from the metal element.
Once this is done, you can take the tip of one prong and place it in the center of one of the heater elements screws. Take the second prong and hold it to the center of the water heater’s second screw.
As the power is off, there is no need to panic about electrocuting yourself here! Whether the multimeter tool is digital or analog, a dial or panel indicates the resistance.
If your element is working correctly, there should be between 10-30 ohms of resistance being shown on the device. If the needle does not move or 0 is displayed, then the heater element is broken and needs to be replaced.
If the first element tested is working correctly, you can repeat the second heater element’s steps. Once you have found the broken element, it can be replaced by yourself or your water heaters manufacturer.
Once you are done, you will need to tighten the wire back around its screw; needle-nose pliers are an excellent way to do this. You can then snap the plastic cover back over the thermostat and begin to reinstall any insulation and the metal panel back into their original positions.
Don’t forget to turn the power back on to ensure electricity can return to the water heater and the room it is in! Simply switch the breakers to turn the power back on; it may take a little while for the water to be heated, depending on your heater’s model.
What if I don’t have a multimeter?
Generally speaking, it is not advised to test a water heater element without a multimeter tool. If you do not have one, they are widely available online and at local hardware stores and relatively easy to use once they are powered.
You could call the water heaters manufacturer or a professional who would come and test the elements for you, but there is an added cost to this that is far greater than purchasing the tool yourself. The multimeter is a handy device to have in your home or tool kit and is one we would recommend purchasing.
Final word
When it comes to testing your water heater element, the process is not incredibly complex. You must spend time ensuring the power to the heater and the room it’s in are switched off to avoid any injuries.
With the help of a multimeter tool, you will test the elements and pinpoint any faults. If you find both wires are fine and still have water issues, it might be time to call in the professionals!


