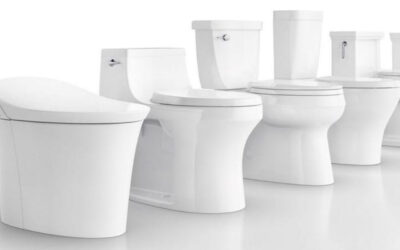
In recent years, the dual flush toilets mechanism has become a mainstay in the homes of people around the world – and it’s certainly easy to see why.
Unlike standard flush toilets, the dual flush toilet mechanism is able to allow you to utilize two types of flush options, which in turn will allow you to keep costs low while also helping to save water.
Even though the dual flush toilet system is able to offer a variety of benefits including keeping the all-dreaded utility bill as low as possible, it can sometimes need to be adjusted or reset, especially if you are finding that your toilet is not dispensing as much water as you need.
No products found.
This can be quite a daunting task to the regular homeowner, especially if they have little technical expertise.
Luckily, though, adjusting the dual flush toilet mechanism is relatively simple and easy to do, and we’re going to be showing you exactly how to go about doing it.
Below, you’ll find everything you need to know about how to adjust your dual flush toilet mechanism, as well as some helpful tips and tricks along the way.
Ready? Just read on.
How To Adjust Dual Flush Toilet Mechanism: Step-By-Step Instructions
Dual flush toilets come with two different types of flush options for you to choose from.
To break that down, the first type of flush available to use via a dual flush toilet is something that is known as a half flush, which works to use less water when getting rid of liquid waste, while the full flush option will use the standard amount of water for solid waste.
Even though the dual flush toilet mechanism is super innovative and water-saving, it can sometimes require a little bit of adjustment to make sure that it is able to offer the ideal amount of water.
So, if you’re currently in this predicament and would like some help on learning how to correctly adjust your dual flush – then you’re in the right place.
Read on for some quick and easy step-by-step instructions to correctly adjust your dual flush toilet mechanism today:
1. Test Your Toilet Flush:
Before you begin trying to adjust your toilet flush, we first recommend that you start off by actually flushing your toilet so that you can determine whether you are going to need your toilet to flush more water or less water.
If after flushing your toilet you feel that the flush is quite weak, then this is a good indicator that you’re going to need to increase your toilet flush power to dispense more water.
However, if after flushing your toilet you notice that your toilet’s flush is extremely powerful and water is spilling into the rest of your restroom, then this is a clear sign that you’re going to need to dial it back a little bit
In addition to flushing your toilet, if you are noticing that your toilet is frequently clogging, then this is a sure sign that your flush needs to be more powerful to help make sure that all waste is effectively expelled.
On the flip side, one surefire sign that your toilet’s flush is far too powerful is if you are noticing that the water is still higher than the drain hole while the toilet finishes flushing.
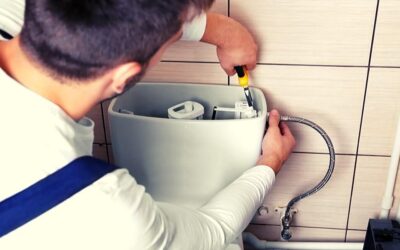
2. Drain The Water From The Tank:
After you have tested your flush and gotten an understanding of what adjustments need to be made, the next step is to drain the water from the tank.
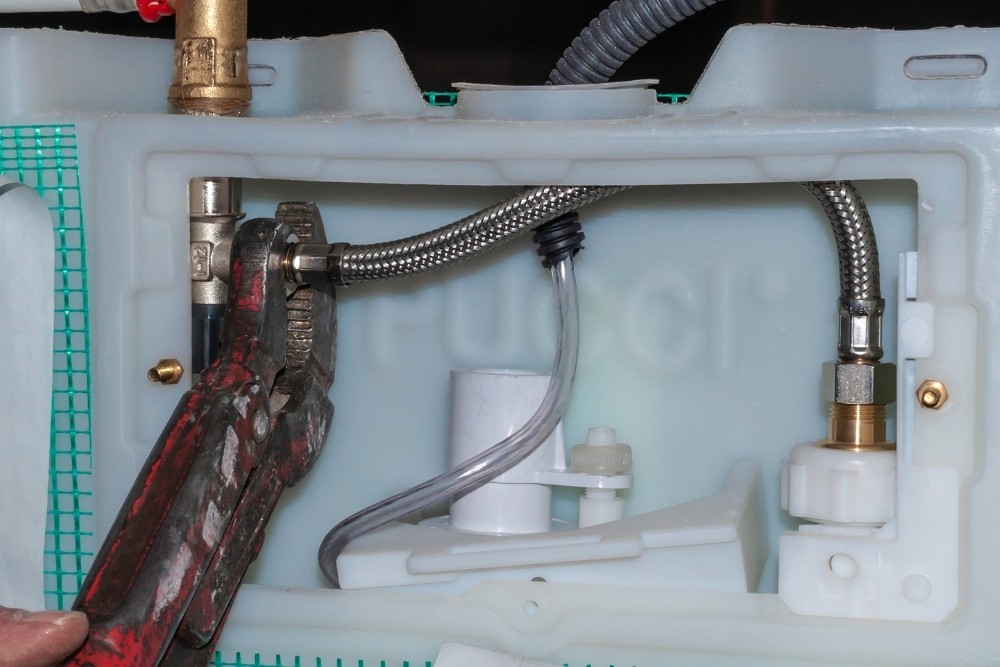
To do this, you will need to locate the hose directly behind the back of the toilet, which leads straight into the wall.
Once you have done this, turn the valve on the hose clockwise until the water is cut off, and then hit the flush so that the water can be drained from the tank.
If you find that there is still some water left inside the bottom of the toilet after you have flushed, this is completely fine and doesn’t need to be removed.
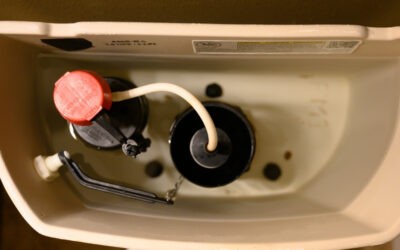
3. Carefully Remove The Top Lid From Your Toilet Tank, And Place It To The Side For Later:
In order to properly adjust your dual toilet flush, you will need to first remove the lid so that you can get a clear view of the interior system of your toilet tank.
The lid isn’t connected to your toilet in any way, so all you will need to do is simply lift it off the toilet, and then set it aside somewhere (preferably on a flat surface) until you are ready to place it back on top of the toilet once you have made the necessary adjustments.
4. Unlock The Clip And Raise The Valve Height:
To unlock the clip on the fill valve, you will need to reach around the back of the tube until you find the little button on the back. Push it counterclockwise, and the valve will become dislodged.
Raise the valve with your hand to increase or decrease the water flow depending on what you need. Once you have adjusted the valve and you’re happy with it, you can then proceed to re-lock the valve so that it is firmly locked into place.
Keep in mind that this step can take some trial and error to get right, so we recommend making adjustments in 1-inch increments, and then making further adjustments as necessary.
No products found.
Once you are happy, adjust the ball valve to match the height of the newly adjusted fill valve, which is the little bar that connects to the float.
You may need to adjust this with a screwdriver (so make sure you have one handy) so that you can make sure both the ball valve and fill valve are matching.
5. Test The Flush:
Once you have done all of this, the last step will be to test the flush to make sure that you have adjusted it correctly. If you are still unhappy with the flush, then you may need to go back and make some additional adjustments.