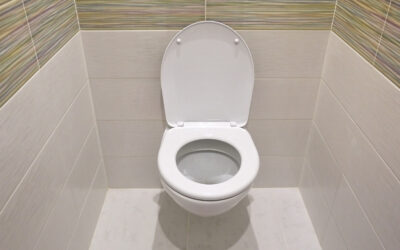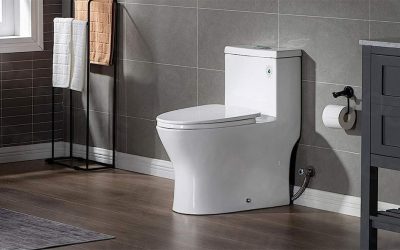
Originating in Europe, wall-hung toilets function in a similar way to their floor-mounted counterparts, but the tank is usually hidden behind the drywall inside the framing.
Wall-mounted toilets offer a few advantages. For one, they save space. They’re a great choice for smaller bathrooms because the bowl and actuator plate are the only parts in the room itself.
The outer tip of the bowl is up to 12 inches closer to the wall, which makes a huge difference in a small bathroom.
Because the toilet bowl doesn’t touch the floor, wall-mounted toilets are easy to clean. They’re also height adjustable. This is especially helpful for people with mobility issues who may need a higher toilet.
From a design perspective, a wall-mounted toilet makes a bathroom instantly look more modern and sleek. It also provides greater design flexibility as it allows for fewer pattern breaks on the floor and walls.
Below, I’ll take you through how to install a wall-mounted toilet.
Preparation
Before you remove your old unit, make sure to turn the water supply off. Prepare your tools and parts, making sure you have easy access to the connections.
Frame Set Up
Assemble vertical upright bars and horizontal support bars onto the frame and tighten them together.
Slide both of the fixing mounts towards the sides of the cistern and make sure they are properly fitted. Now you’ll need to place the vertical flush pipe on to the cistern’s underside.
Secure the cistern with the frame and place the flush pipe elbow on the frame first. Then you can clip it into place by pressing down on the cistern.
Now attach the fixing mounts on a frame by using a 10 mm ratchet wrench. Then insert and clip your feet onto the frame’s lower part and install the clamp for the waste pipe elbow onto the frame.
Unit Positioning And Marketing
Using a spirit level, draw a vertical line crossing the waste pipe center. Draw mark A at 1m and B at 1.08m for a standard bowl.
Take these measurements from the floor, and you can then adjust your measurements according to where you want the bowl to be placed.
Draw holes on mark B for the wall brackets 235mm to the right and left of the center of your evacuation. Then fit the 90° waste pipe elbow and complete the assembly.
Check the position of the unit, taking into account the waste pipe and water supply while putting the unit into the place. Move the waste pipe horizontally or vertically as needed.
Once you’ve made sure that the unit is at least 230mm from the wall, mark hole locations for the foot brackets.
Adjust And Attach The Unit
So the elbow of the 90° waste pipe easily fits, grease the seal. Use straight glue if glueing the PVC connection.
For standard bowl placement make sure that the height is 230mm and check that the unit is in line with your marks. You can always adjust the measurements for the desired bowl height if needed.
Use a 10mm drill bit to drill holes into the wall and a 12 mm drill bit to drill holes into the floor. Then adjust and line up to your frame height with the mark A.
Making sure that the frame is level horizontally, use a 13mm wrench to secure the feet. You can also use a 13mm wrench to loosen the adjustment bolts to adjust the level.
Then you can tighten the screw, making sure that the screw is firmly tightening on the other foot. Meanwhile at the top of the frame, place the fixing brackets.
To adjust vertical alignment, use spirit level and screws. Tighten the screws and lock them close to the metal. Place the plastic clips on the rod and a waste pipe clamp.
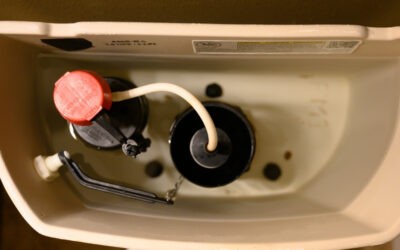
Install The Flush Mechanism
You can remove the transport bracket by pulling the red handle. You can then discard it.
You can access the cold water connection by removing the cover. Then use a 22mm open end wrench to attach the external part of the stop valve to your cold water connection. Don’t use a seal during assembly.
Point the outflow of the stop valve to the right and connect the flexible internal water inlet hose and stop the valve. Open the water supply after making sure that the isolation valve is closed. The isolation valve connection should be watertight.
To catch the water, place the other end of the hose in a bucket. Connect the flexible water inlet hose end to the flush system and place the inspection shaft according to the position of the flush plate.
Covering The Unit
You can match the unit’s openings and sides by cutting the covering panels. Make sure to place the cut-out templates for the waste and flush pip. Now you can attach all the panels.
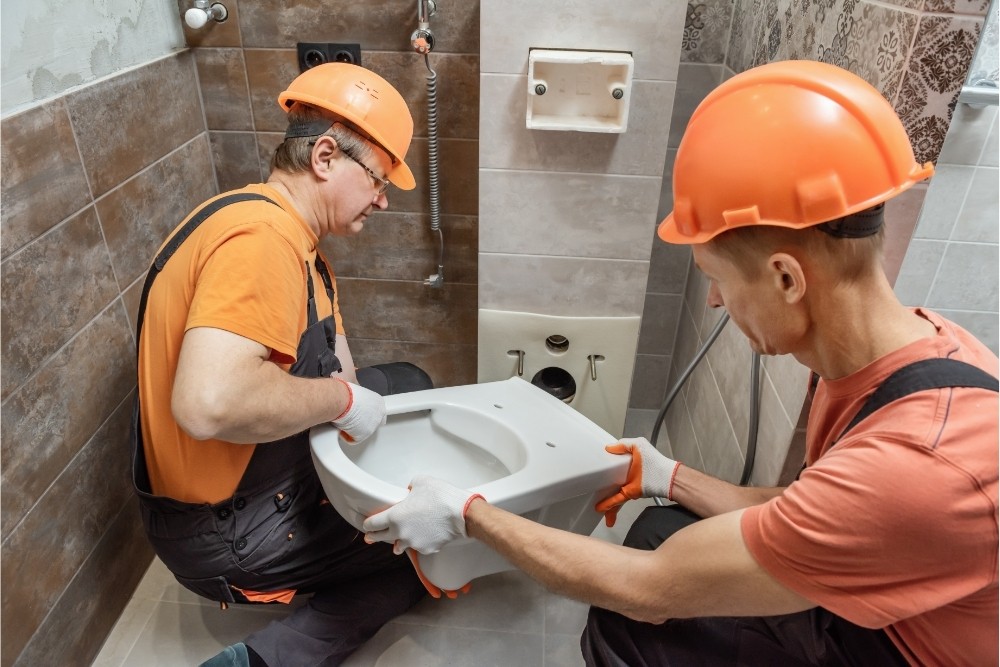
Installing The Bowl
To install the bowl, push the flush pipe along with its seal together until you can no longer do so.
Now place the pipes fully onto the sanitary unit and mark where they emerge from the unit.
Use a file to smooth the pipe ends and insert the pipes fully into the unit. Then, take some soapy water and apply it to the connectors. Now place the white plastic piece, nut, and washer onto the threaded rods.
Now you need to make sure the bowl is level. To do this, rotate the plastic pieces and adjust if needed, then install plastic covers.
Installing The Actuator Panel
Using a cutter, carefully cut the extended plastic flush part with the cover. Now you can turn the water supply on.
Then install the flush plate mounting bracket, making sure that the plastic springs are facing downwards, and then tighten two screws.
Rotate the air button completely on the back of the actuator panel to attach. Place the panel bottom first, and then push it upwards while pressing towards the unit.
Fill With Water And Finish


To check the flush button is working you’ll need to operate it.
Take a silicone seal and apply it around the back of the bowl. Then put the plastic anchors in the bowl and secure them by tightening the screws. Position the chrome covers over the plastic pieces.
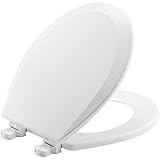
Finally, place the toilet seat’s hinge holes onto the rods and click the seat into place.